

I figure it’s about time that I talk about the making of this quilted pet portrait of my friend’s late bearded dragon, Sobek.
✷
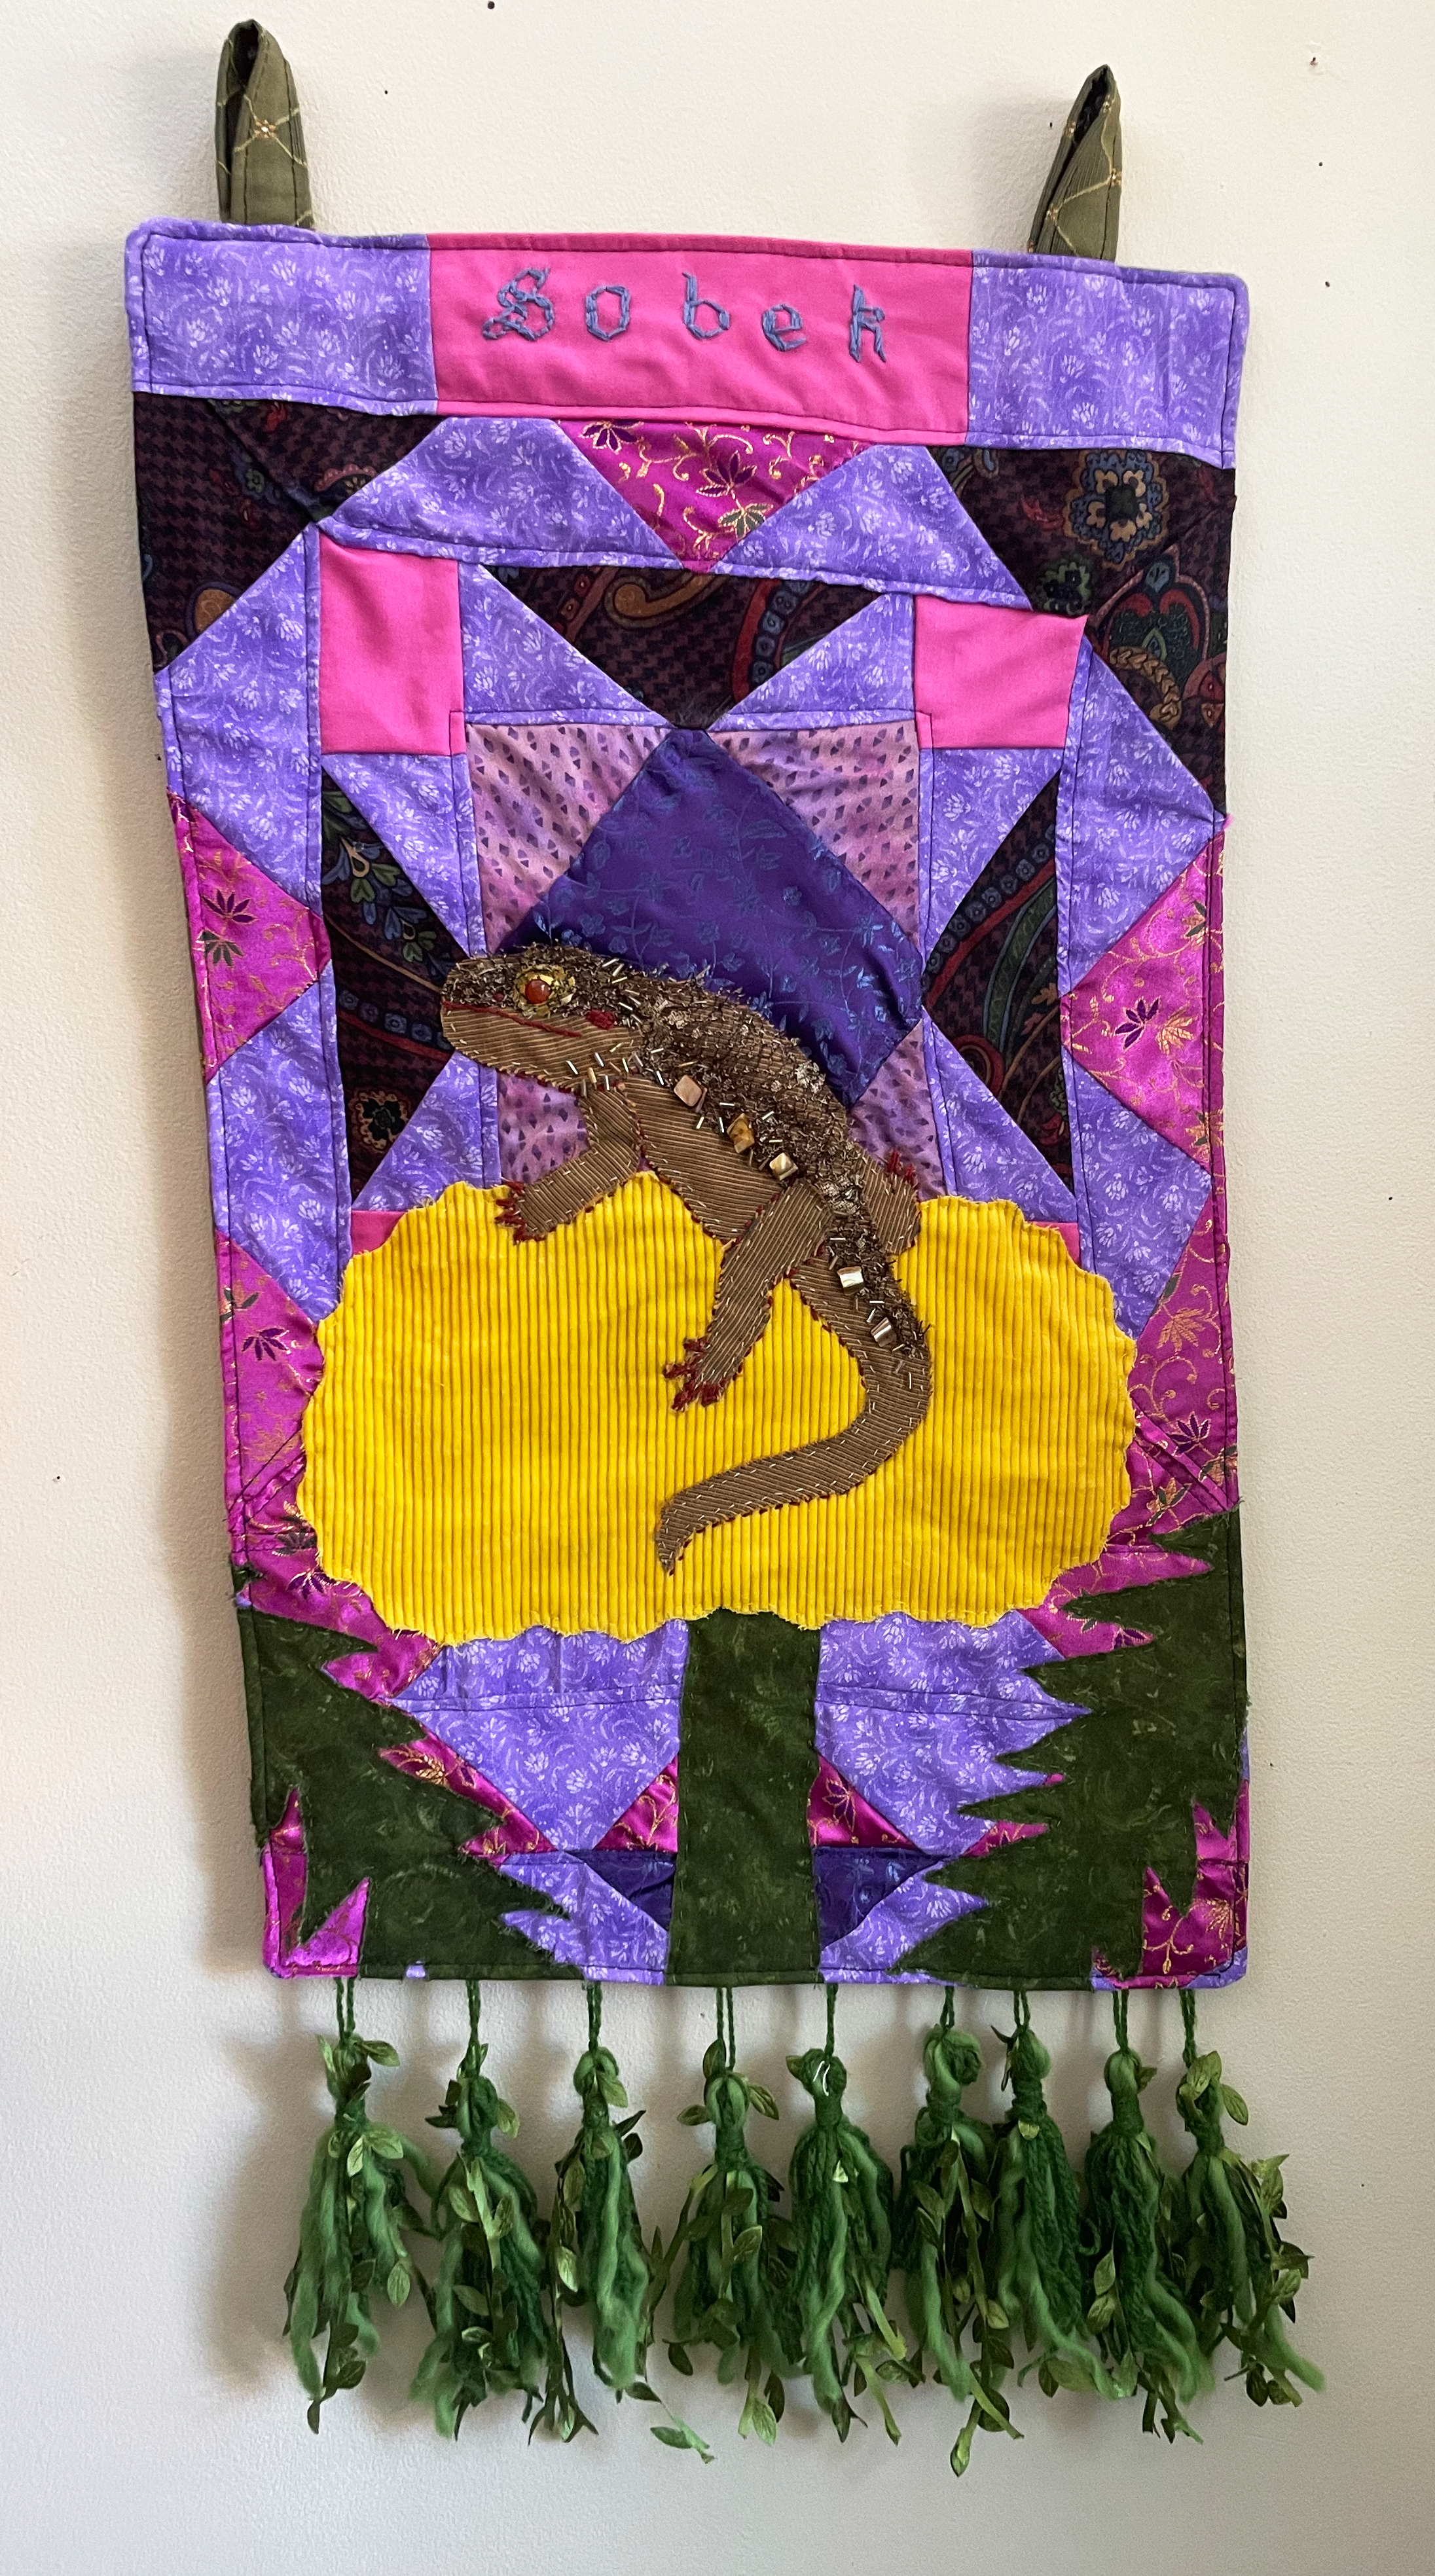
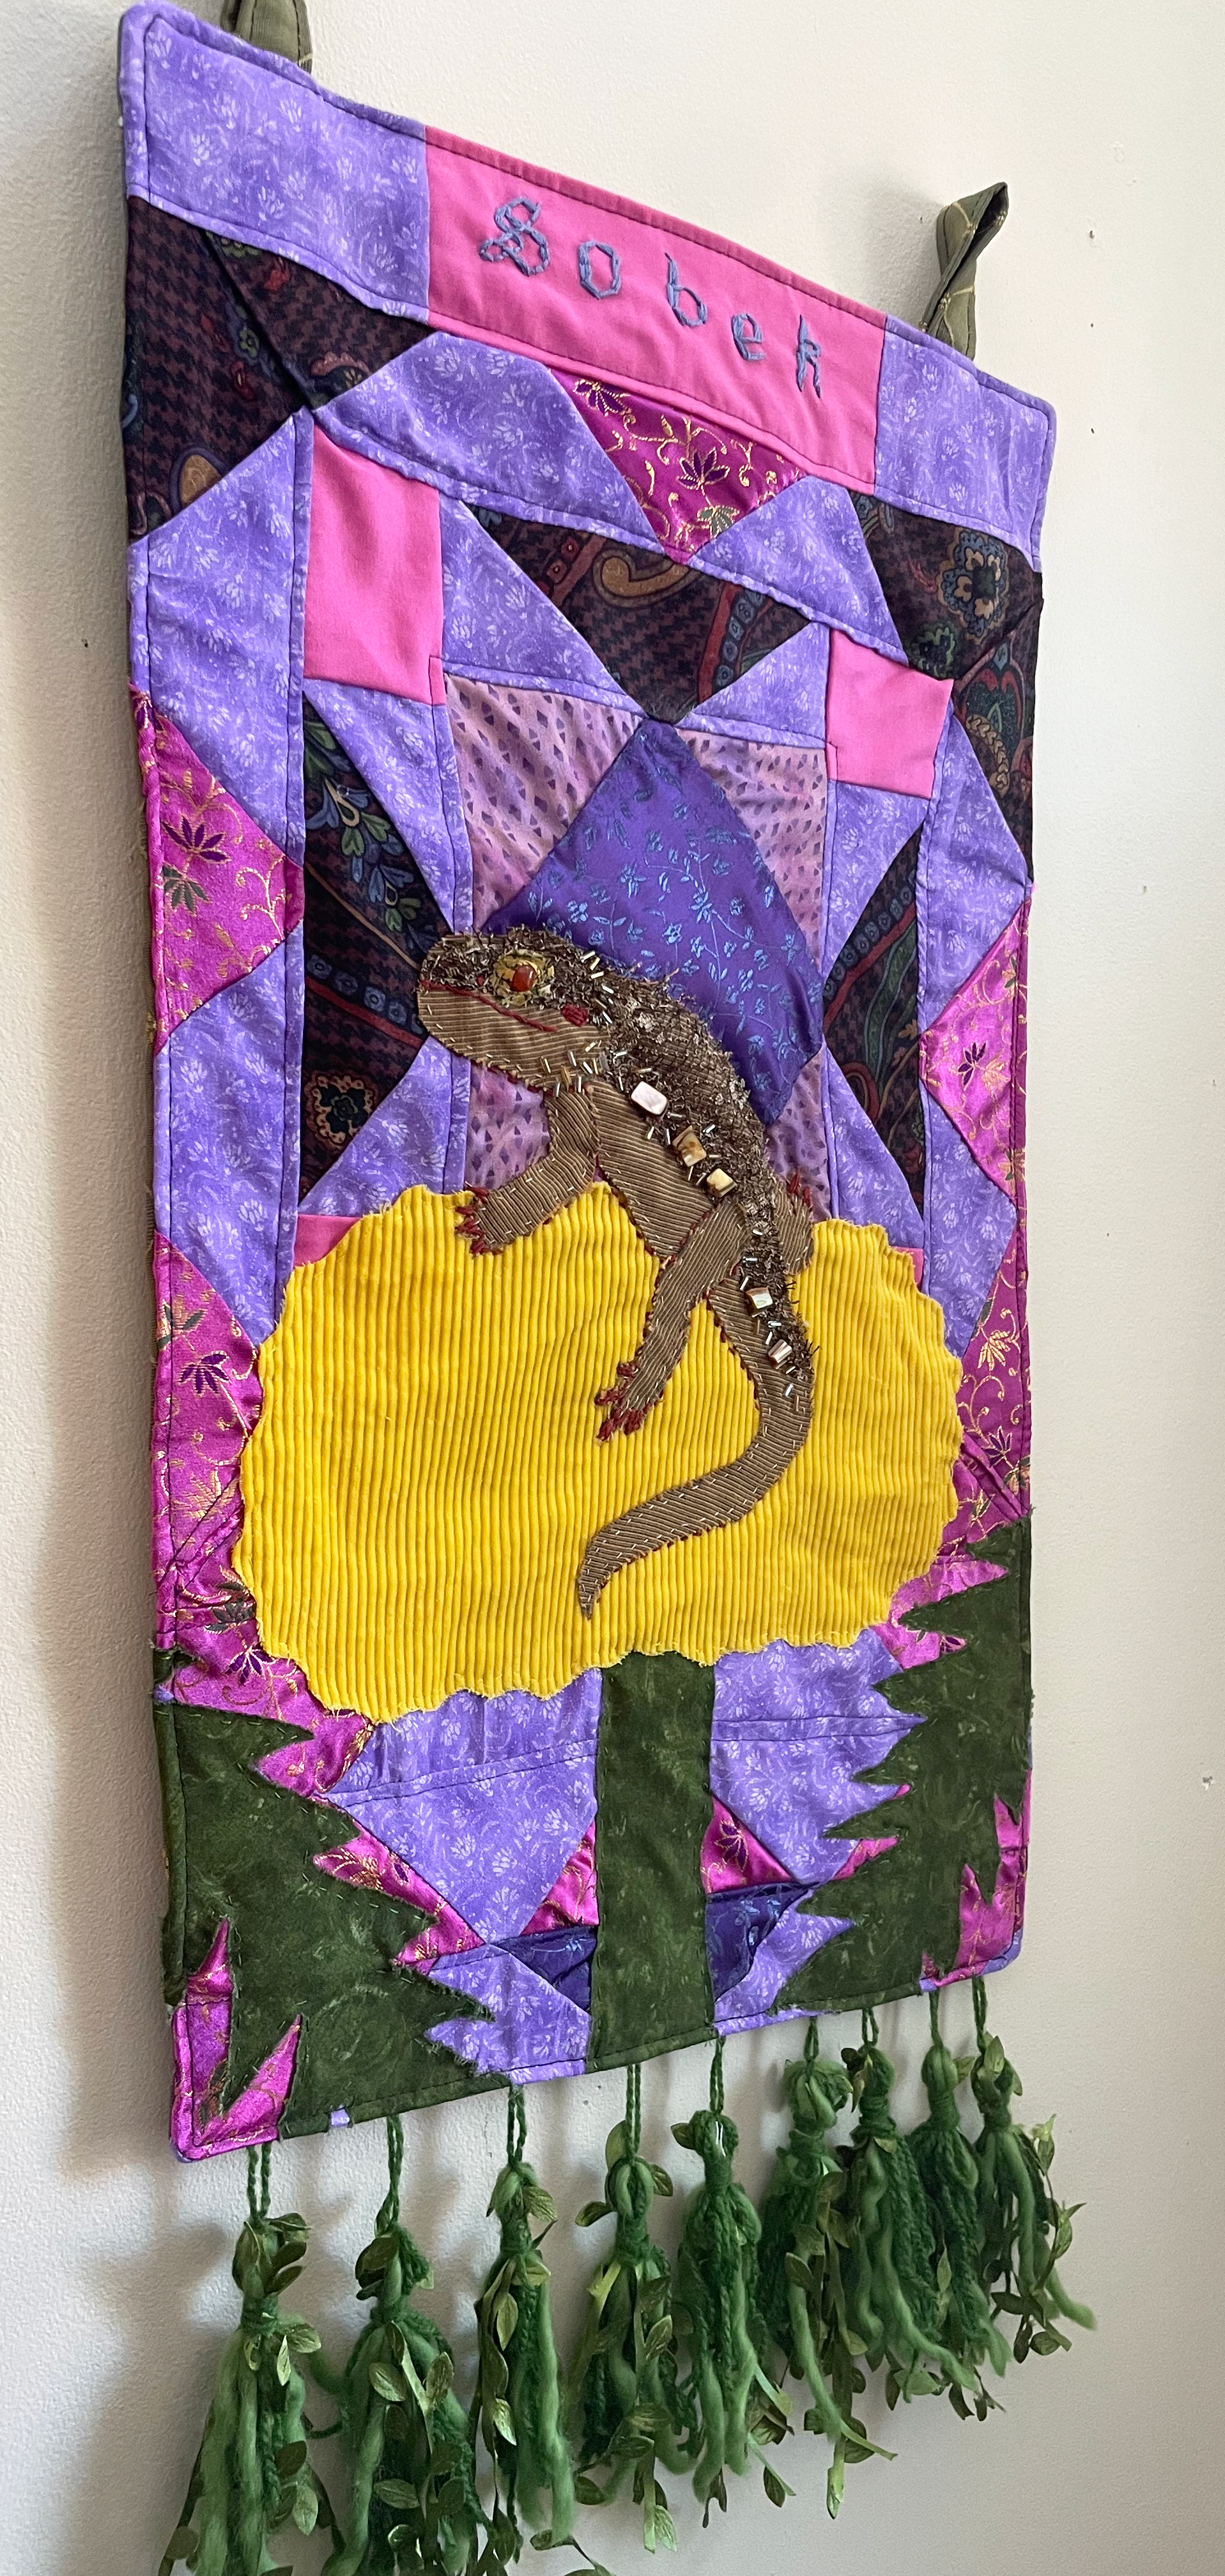
I’m starting with final pics for those of you solely interested in seeing the finished product. Below the finished images, I will go through my process for the piece from start to finish. This project spanned multiple months of my year in 2023, and was an incredible learning experience.

✷


✷
Now, let’s go back to the beginning…
✷
I can’t pinpoint the exact dates, but sometime in early to mid year of 2023 I was contacted by an old friend I hadn’t talked to in a long while. They’d seen some of my other fibers work featuring animals, and were wondering if they could commission me for one of their beloved bearded dragon. He was getting old, and they wanted to ensure that he’d always have a place in their home.
✷
It was a huge honor to have been trusted with something so important, and I knew I would have to treat it with an equal amount of care. I’ll admit, the project was a daunting undertaking at the beginning.
✷
Nerves aside, I did know the first step towards my goal already. I asked my friend for some reference pictures of Sobek, so I could really try to capture him in fabric and beads. Below are the main few references that I used throughout the process.
✷
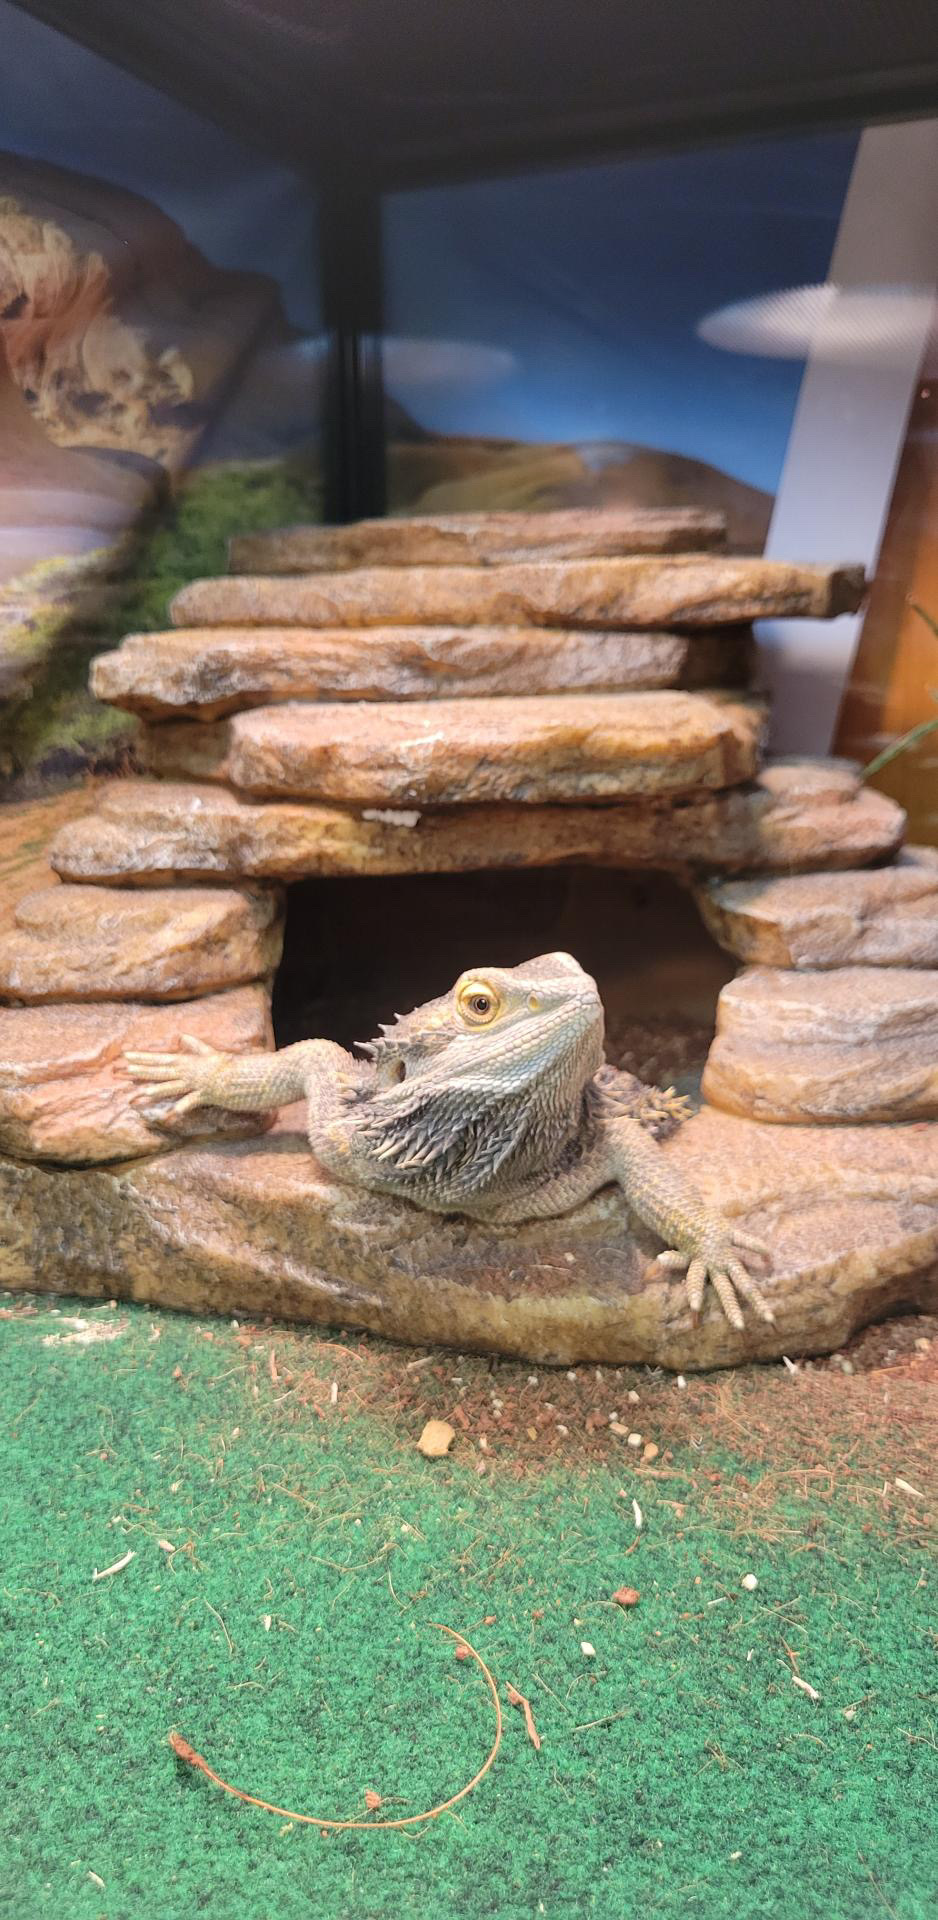


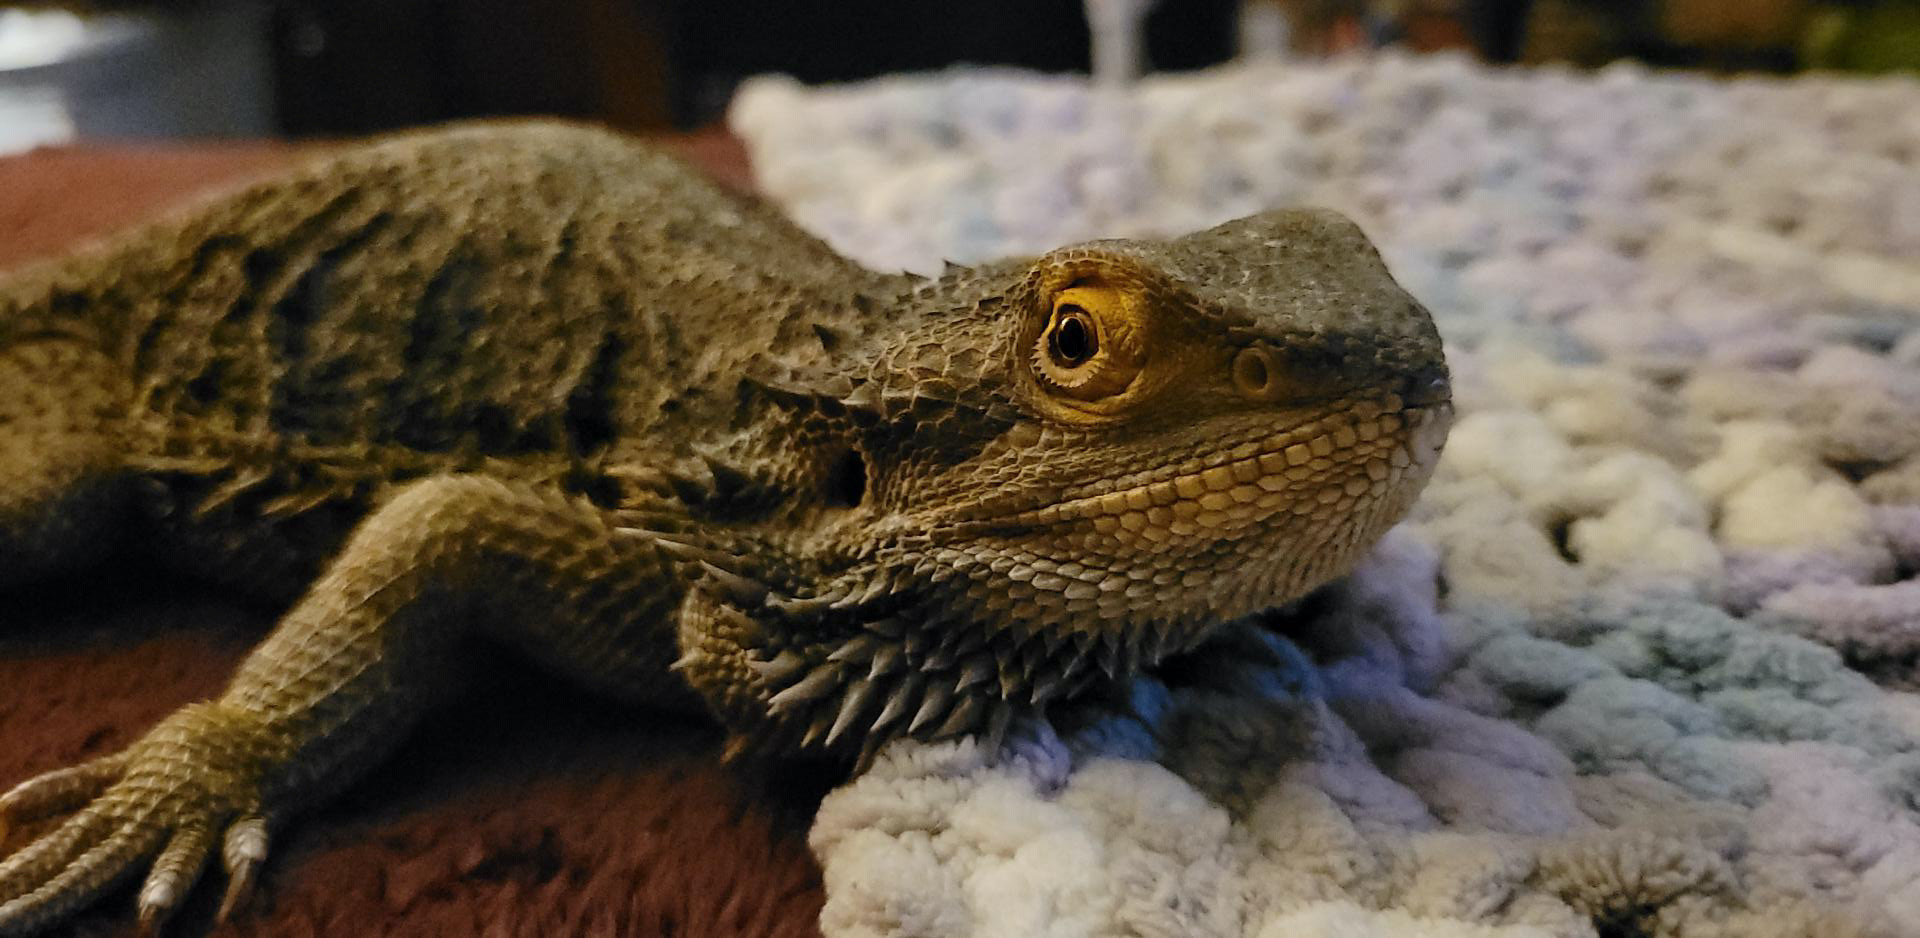

✷
Next, Lots of sketching
✷
I must’ve done somewhere around 30-40 quick gesture drawings to get a feel for the overall body shape I’d be working with. Those drawings were on loose paper and thus lost to the sands of time, but I did manage to find the following sketchbook page with some thumbnails and a longer marker drawing in the center. My friend associated their lizard with dandelions, so all my thumnails included them as a motif somewhere in the composition.
✷

✷
The Gauntlet: Sewing
✷
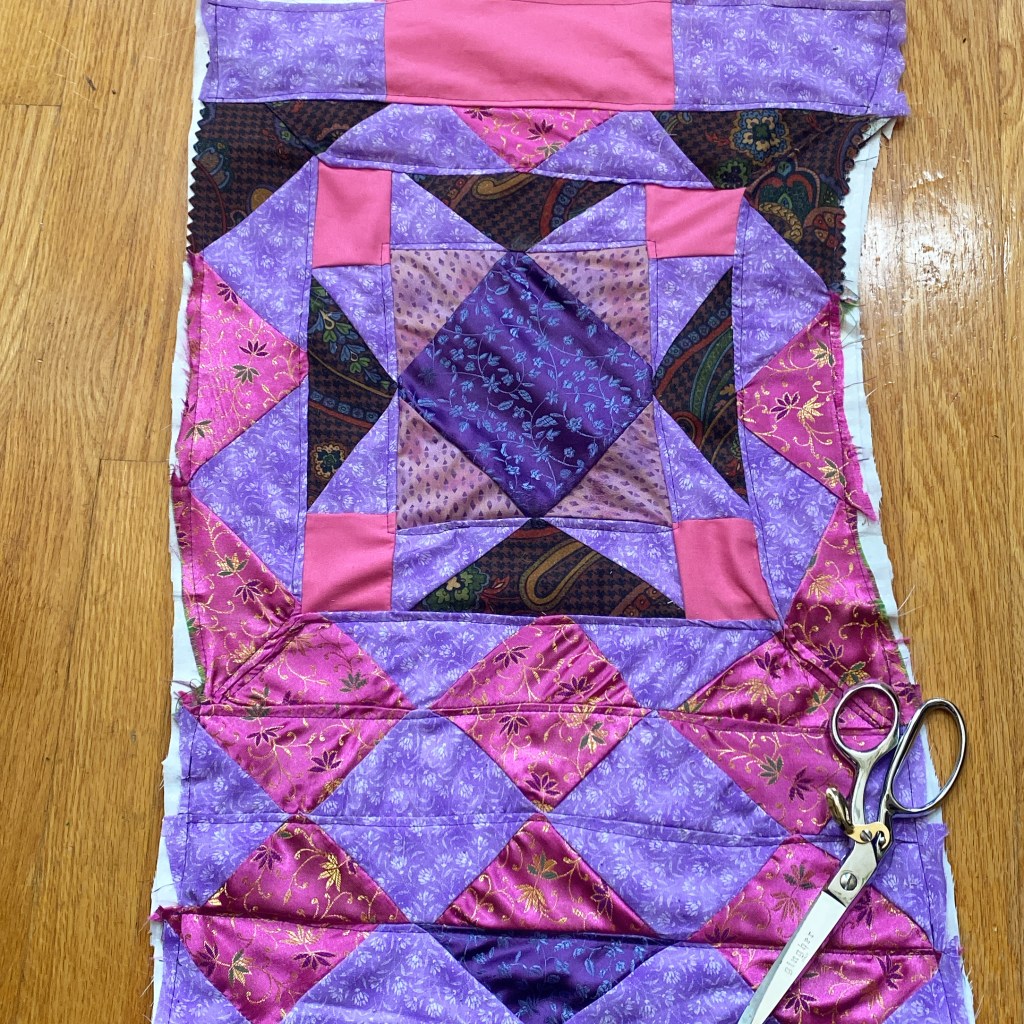
Now, it was time to finally start the piece. I knew I wanted to have a quilted background, so I chose some colors and fabrics and got to work. I didn’t have a pattern for this, so it probably took a lot longer than it would’ve normally.
✷

I spent the most time getting the center square even and my corners lined up properly. The center square was silk, which made this a challenge and a half. Silk will slide all over a sewing machine if you’re not careful.
✷
I wasn’t the best at taking regular progress pics, so my next visual update is the completed base background. It ended up shaped a little funny, but I would correct most of that later in the project.
✷
The next update broke my heart a little bit, but was entirely necessary to create the piece I’d planned with input from my friend.
✷

The flower of the dandelion which Sobek would be sitting on had to be placed around the center of the piece. Admittedly, this made me reconsider the entire design to see if I could get out of covering up so much of the quilting I’d worked so hard on.
I didn’t find any such luck, so the yellow fabric got stitched down right where I’d put it.
✷
Once the flower was down, I added the stem and leaves of the dandelion by hand. I really enjoyed seeing all the tiny stitches.

✷
I have a confession here. I… was not good at taking progress pictures from this point forward. When I worked on the piece, I entered some intense hyperfocus and forgot all about it. The last images I have are from the process of hand embroidering Sobek’s name at the top.
✷

This is what the piece looked like at this point. I still hadn’t done embroidery or beading on Sobek, and his eye was nothing but a small circle of fabric.
At the top of the piece is the embroidery hoop I used to keep the fabric from wrinkling while I embroidered.
✷
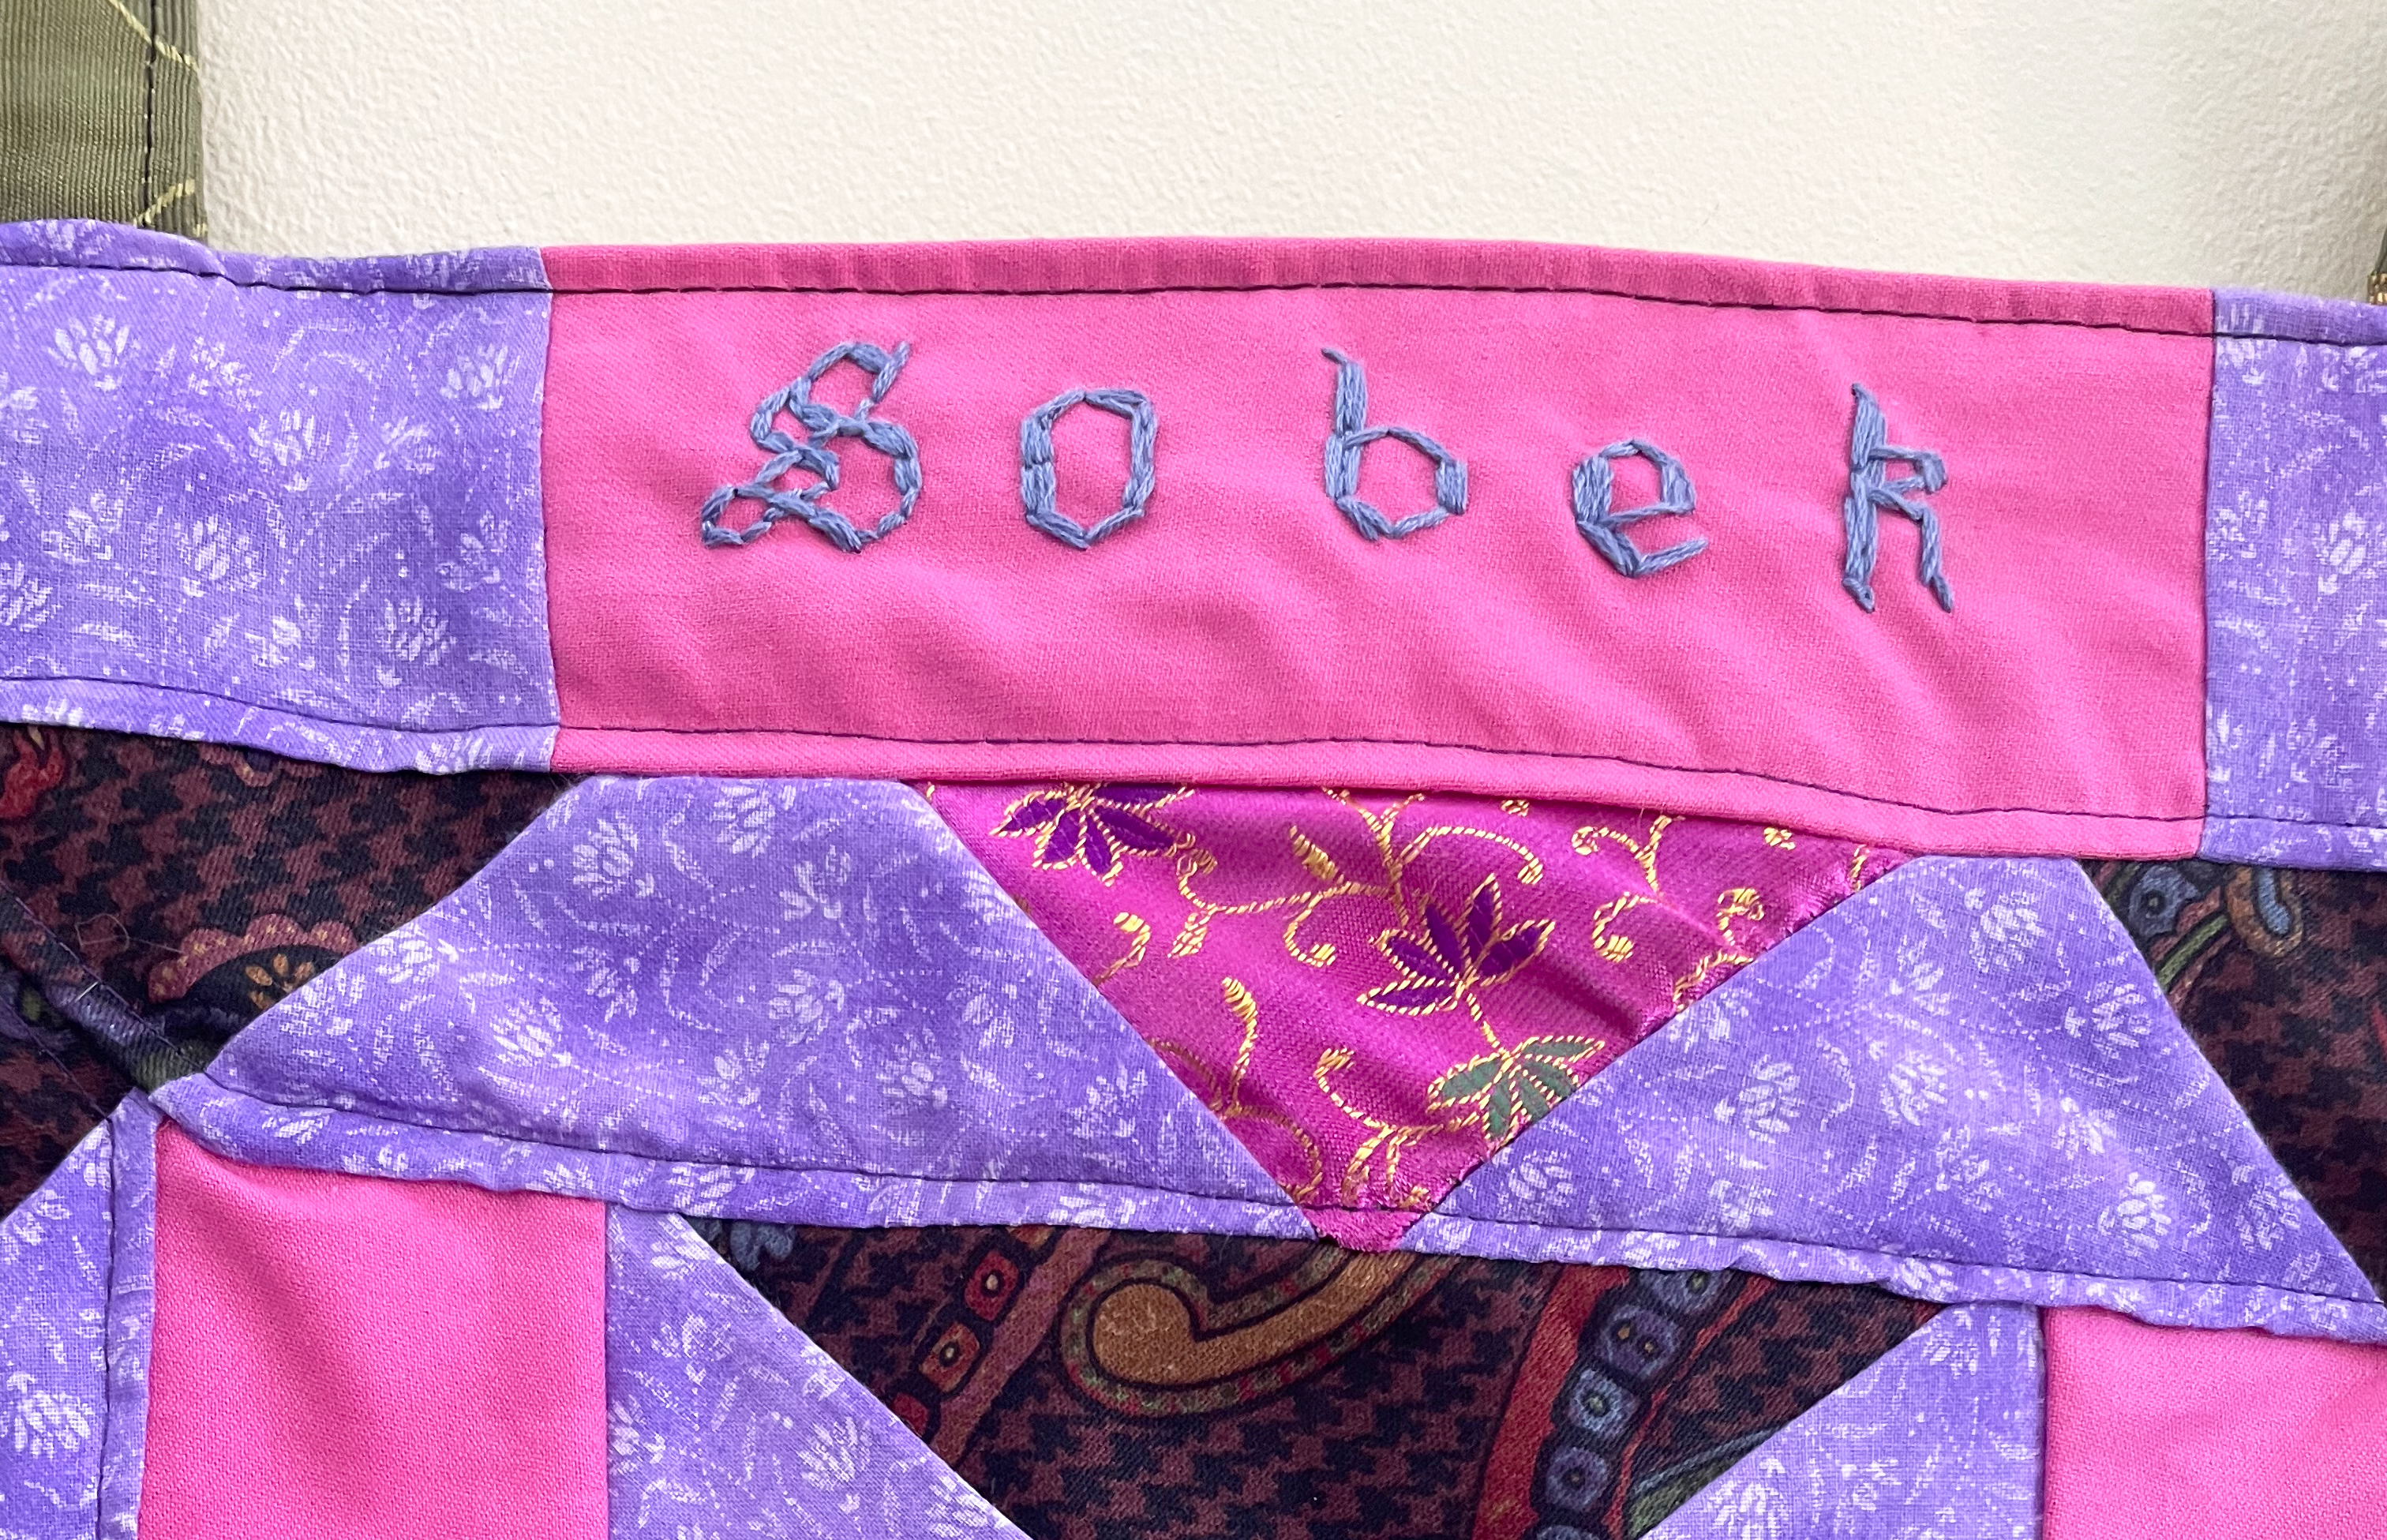
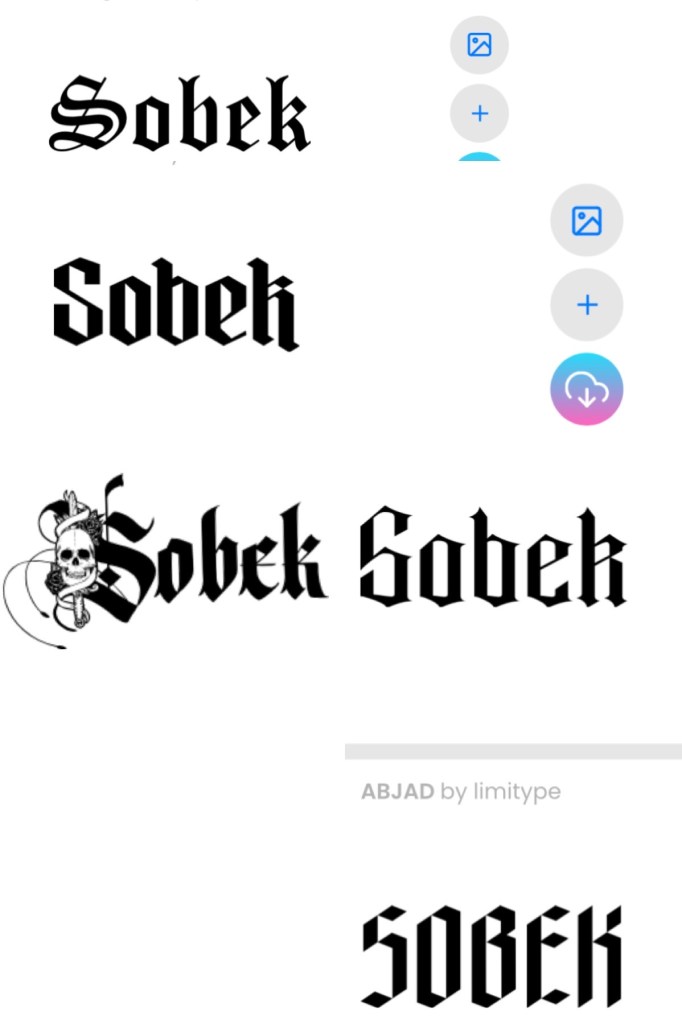
I knew I wanted to do his name in a blackletter font, but I wasn’t confident enough to design it myself. As such, I went online and found a few different fonts to try. They’re all pretty similar, but I wanted to get things just right.
After much deliberation, I chose the type at the very top of this image. I felt like it had just the right level of detail without being overly complex.
✷

Here’s what the piece looked like when I was done embroidering. You can still see the tailor’s chalk I used to draw out the letters and use as a sort of template while I sewed.
Sobek here is still missing a lot, but it looks like I’d also started on some very light embroidery on him by the time this picture was taken.
✷
This unfortunately marks the end of my progress pictures, so I’ll have to go over the remainder of my process in text.
✷
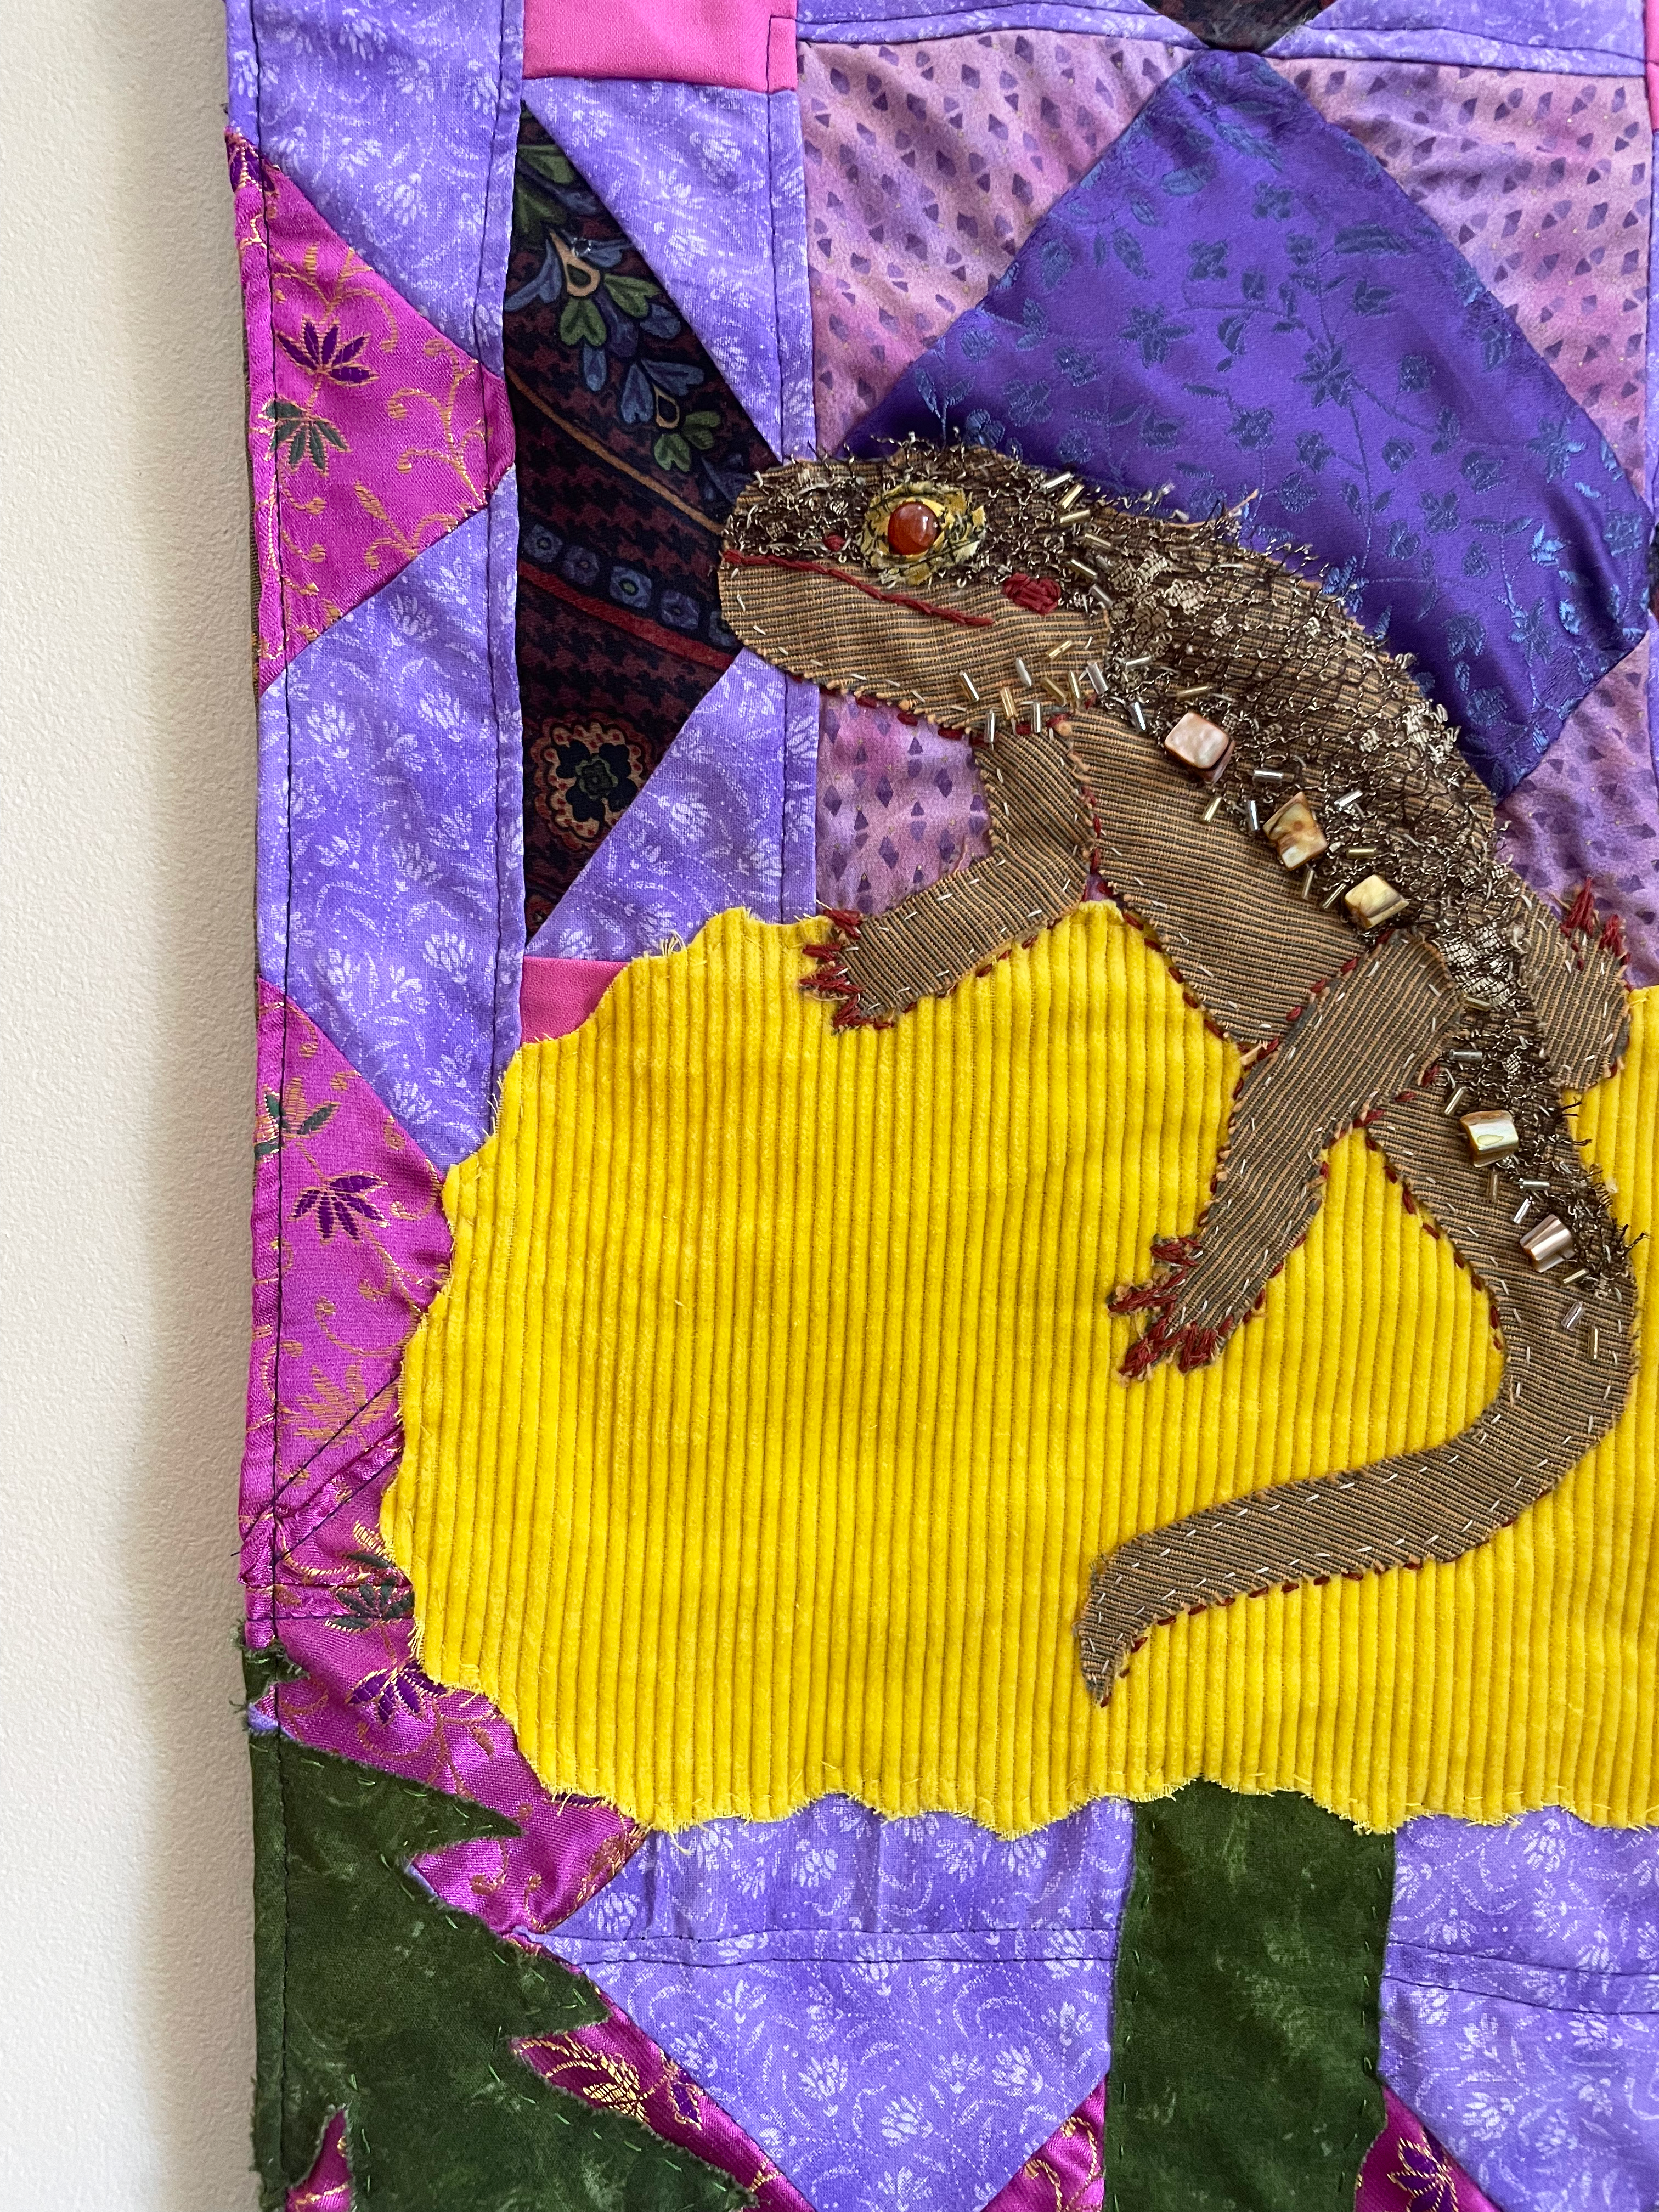
From this point forwards, it was time to really nail down the embroidery needed to bring Sobek fully to life. I struggled a lot to figure out how to do his eye at first. Eyes are so important in pieces like this, and the last thing I wanted to do was something flat and lifeless. Eventually, I decided to try out a bead for the eye and fabric for the eyelids. I think this gave him such a darling look, and was inspired to add more beads in other places. Below is a close crop of one of the final images so you can really see the eye.
✷

✷
From here, I finished up the beading for Sobek’s many spikes. I lucked out by having some absolutely perfect beads hidden in my stash. This was also the point where I added the embroidery to further define his form. You can see a tiny bit of embroidery above, as I used it for the mouth, nose, and ear hole.
✷
Once the front of the piece was done, it was time to put a solid fabric backing on it so that my many stitches were hidden and the edges were crisp. When I was sewing the two pieces together, I also stitched in the loops for hanging the piece as well as the green tassels at the bottom. The tassels were a last minute idea that I think really helped to bring the whole portrait together. They added the perfect amount of fancy to the edges, and made it feel like a proper wall hanging.
✷
And with that, my portrait of Sobek was finally complete! I am still incredibly proud of it, and my friend absolutely loved it. I was so glad to be able to spend so much time on such an important piece for them.
✷
What did I learn?
✷
As is the case with any project that spans multiple months, I learned a ton while making this wall hanging! Probably the biggest lesson I took away from it was a better understanding of how long something like this would take me. I definitely went into the commission expecting it to take a fraction of the time and effort. Since then, I’ve vowed to only do fabric pet portraits for incredibly special/important pieces. They’re a lot of fun to make, but definitely not cost effective if you’re trying to sell them as a business.
✷
I also learned to plan my backgrounds ahead of time so that I don’t end up doing a ton of work that’s just going to wind up covered. I was super proud of my background quilting here, and I got so into it that I forgot about the large pieces of fabric I’d be adding over top.
✷
Through creating Sobek’s likeness, I gained some confidence with depicting reptiles. I tend to stick with cats and dogs most often, and I had very little confidence with reptiles going into the project. By the time I finished the piece, I had gained some confidence in my ability to depict just about any species well if I spent enough time on it.
✷
I’m sure I’m missing other lessons here, but that’s my list for the time being. If you stuck around to the end, thank you very much! It means a lot that you found it interesting enough to meander through my ramblings. I’d be happy to answer any questions or comments about the page in the form below.
✷

Leave a comment